To set up Windows auto login, press Win + R, type netplwiz, and press Enter.
Uncheck the box that says "Users must enter a user name and password to use this computer," click Apply,
enter your password twice, then restart your PC. Your computer will now boot straight to the desktop
without asking for a password. This method works on Windows 10 and Windows 11, including Home, Pro, and
Enterprise editions.
Security Warning: Auto login removes your password protection at startup. Anyone who can physically access your computer will have full access to your files, email accounts, saved browser passwords, and personal data. Only use this feature on a private computer in a secure location.
What Is Windows Auto Login?
Windows auto login is an operating system feature that lets your computer skip the sign-in screen. Instead of waiting for you to type a password, Windows automatically enters your stored credentials and loads your desktop. The feature has existed since Windows XP and continues to work in Windows 10 and Windows 11. Microsoft designed it for situations where convenience matters more than login security, such as home media centers or dedicated gaming PCs.
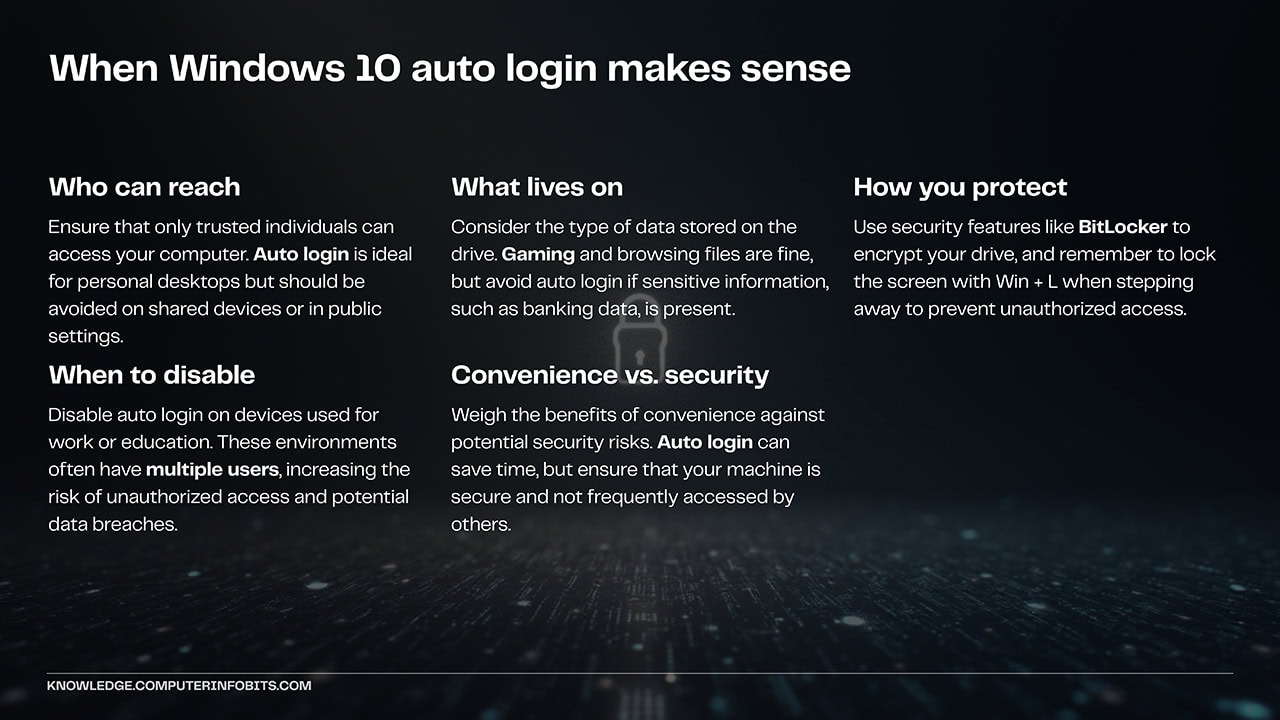
When Does Auto Login Make Sense?
Auto login fits certain situations better than others. Here is when it works well:
- Single user home computers where the PC stays in a private room that guests cannot access.
- Living room media PCs used mainly for streaming services, music playback, or casual gaming.
- Kiosk systems in business settings where the computer runs a single application and physical security is already in place.
- Digital signage displays that need to boot unattended and show content automatically.
Quick Tip: Even with auto login enabled, you can still lock your screen manually.
Press Win + L on your keyboard when you step away. This keeps your data safe during the
day while still giving you fast startups.
Method 1: User Accounts Settings
This is the simplest and safest way to enable automatic login. It uses a built-in Windows tool called netplwiz (Network Places Wizard) that has been part of Windows since the NT era. You do not need to touch the Windows Registry or install any third party software.
Best for: Most home users who want a quick, reversible setup without technical risk.
-
Open the Run dialog. Hold down the Windows key on your keyboard and press R. A small box appears in the lower left corner of your screen.
-
Launch User Accounts. Type
netplwizin the text field and press Enter. A window titled "User Accounts" will open showing all accounts on your computer. -
Select your account. Click once on the username you want to log in automatically. If you see multiple accounts listed, make sure you pick the correct one.
-
Disable the password requirement. Uncheck the box labeled "Users must enter a user name and password to use this computer." Click the Apply button.
-
Enter your credentials. A dialog box asks for your password. Type your current Windows password in both fields and click OK. If you use a Microsoft account to sign in, enter your Microsoft account password here.
-
Restart to test. Click Start, then Power, then Restart. Your PC should now go directly to your desktop without showing the login screen.
The Checkbox Is Missing?
Microsoft introduced a "passwordless account" feature in recent Windows updates that hides the classic checkbox in netplwiz. According to Microsoft's official documentation, this change encourages users to adopt more secure sign-in methods like Windows Hello. If you open User Accounts and cannot find the checkbox, follow these steps to restore it.
-
Open an elevated Command Prompt. Right click the Start button and choose "Terminal (Admin)" or "Command Prompt (Admin)" from the menu. Click Yes when Windows asks for permission.
-
Run the registry command. Copy and paste this command, then press Enter:
reg ADD "HKLM\SOFTWARE\Microsoft\Windows NT\CurrentVersion\PasswordLess\Device" /v DevicePasswordLessBuildVersion /t REG_DWORD /d 0 /f -
Open netplwiz again. Press
Win + R, typenetplwiz, and press Enter. The checkbox should now appear. Follow the steps in Method 1 to complete your setup.
When you enable auto login, Windows needs to send your actual password to the authentication system at startup. Unlike password hashes that work for verification, the login process requires your real credentials. Windows stores this password in the Local Security Authority (LSA) secrets area of the registry. While Microsoft applies basic obfuscation, any administrator on the machine can retrieve these credentials using built-in tools or freely available utilities. This is why Microsoft now pushes Windows Hello, which uses cryptographic keys stored in a Trusted Platform Module (TPM) chip instead of recoverable passwords.
Method 2: Windows Registry Editor
Use this method only if Method 1 fails or if you need to configure auto login remotely through scripts. The Windows Registry is a database that stores low level settings for the operating system and installed applications. Incorrect changes can cause system instability, so proceed carefully.
Create a backup first: Before editing the registry, create a System Restore point. Click Start, type "Create a restore point," and follow the prompts. This gives you a way to undo any mistakes.
-
Open Registry Editor. Press
Win + R, typeregedit, and press Enter. Click Yes when the User Account Control prompt appears. -
Navigate to the Winlogon key. In the left panel, expand these folders in order:
HKEY_LOCAL_MACHINE>SOFTWARE>Microsoft>Windows NT>CurrentVersion>Winlogon. -
Verify your username. In the right panel, double click
DefaultUserNameand confirm it shows your Windows account name. For Microsoft accounts, this is usually your email address. -
Add your password. Look for
DefaultPasswordin the right panel. If it does not exist, right click in empty space, select New > String Value, and name itDefaultPassword. Double click it and type your Windows password in the Value data field. -
Enable automatic logon. Double click
AutoAdminLogonin the right panel. Change the Value data from 0 to1and click OK. -
Restart your computer. Close Registry Editor and restart. Windows should log you in automatically.
Password visibility: This method stores your password in the registry where any administrator account can read it. Only use this on computers where you control all user accounts.
Method 3: Group Policy Editor
Group Policy provides centralized management of Windows settings, primarily in business environments. This method does not enable auto login by itself. Instead, it changes how the login interface appears. You still need to combine it with Method 1 or Method 2.
Edition requirement: Group Policy Editor (gpedit.msc) is only available in Windows Pro, Enterprise, and Education editions. Windows Home users will see an error if they try to open it.
-
Open Group Policy Editor. Press
Win + R, typegpedit.msc, and press Enter. -
Navigate to logon settings. In the left panel, expand: Computer Configuration > Administrative Templates > System > Logon.
-
Configure the policy. In the right panel, double click "Always use classic logon." Select Enabled and click OK.
-
Complete the setup. Restart your computer, then use Method 1 or Method 2 to finish enabling auto login.
Which Method Should You Use?
Each method has different requirements and complexity. Use this comparison to pick the right approach for your situation.
| Method | Best For | Difficulty | Windows Editions |
|---|---|---|---|
| Method 1 User Accounts |
Most home users | Easy | Home, Pro, Enterprise |
| Method 2 Registry Editor |
Missing checkbox, scripting | Advanced | Home, Pro, Enterprise |
| Method 3 Group Policy |
Classic login interface | Medium | Pro, Enterprise only |
How to Turn Off Auto Login
If you change your mind or your security needs change, you can restore password protection at any time.
Reversing Method 1
Press Win + R, type netplwiz, and press Enter. Check the box that says "Users
must enter a user name and password to use this computer." Click Apply, then OK. After you restart,
Windows will ask for your password again.
Reversing Method 2
Open Registry Editor and navigate back to the Winlogon key. Double click AutoAdminLogon
and change the value from 1 to 0. For extra security, right click
DefaultPassword and select Delete to remove your stored password entirely.
Reversing Method 3
Open Group Policy Editor and navigate to the Logon folder. Double click "Always use classic logon," select Not Configured, and click OK. Remember that this only changes the login appearance. You also need to reverse Method 1 or 2 if you used them.
Auto Login Stopped Working?
Several common issues can break an existing auto login configuration. Here is how to troubleshoot them.
You Changed Your Password
When you update your Windows or Microsoft account password, the stored credentials become outdated. Windows tries to use the old password, fails, and shows the login screen. To fix this, run through Method 1 again and enter your new password when prompted.
Windows Updates Reset the Setting
Major Windows feature updates can sometimes reset security related settings. If auto login stops working after an update, check netplwiz to see if the checkbox got re-enabled. You may need to set up auto login again.
Domain Policies Override Local Settings
Computers connected to a corporate domain receive policies from network administrators. These Group Policy settings override local configurations, including auto login. If your PC joins a company network, contact your IT department before trying to enable auto login.
Multiple User Accounts Cause Conflicts
Auto login works best when only one user account exists on the computer. If multiple accounts are present, Windows may show an account selection screen even with auto login enabled. Consider removing unused accounts or using the Registry method to specify the exact account.
Security Considerations
Before enabling auto login, understand exactly what protections you give up and what risks remain.
What Auto Login Exposes
- Physical access equals full access: Anyone who can press the power button gets into your account, your files, and any saved passwords in your browser.
- Theft becomes worse: A stolen laptop with auto login gives the thief immediate access to everything. Without it, encryption like BitLocker can protect your data.
- Shared spaces are risky: Roommates, family members, or visitors could access your account while you are away.
- Registry passwords are readable: If you use Method 2, your password sits in the registry where other administrator accounts can read it.
Safer Alternatives for Faster Login
If you want to speed up your login without removing all protection, Windows offers several quicker authentication methods.
- PIN sign-in: Set up a 4 to 6 digit numeric PIN in Settings > Accounts > Sign-in options. Faster to type than a complex password.
- Windows Hello facial recognition: If your computer has an infrared camera, Windows can unlock just by seeing your face. Login takes about one second.
- Fingerprint reader: Many laptops include fingerprint sensors. Touch the sensor and you are in.
- Security key: A USB security key like YubiKey lets you tap to login without typing anything.
Testing Your Configuration
After setting up auto login, verify it works correctly in different scenarios.
- Restart test: Click Start > Power > Restart. Your computer should boot to the desktop without any password prompts.
- Cold boot test: Shut down completely using Start > Power > Shut down. Wait ten seconds, then press the power button. Auto login should work on this fresh start too.
- Sleep wake behavior: Auto login only affects startup. By default, Windows still asks for your password when waking from sleep. You can change this separately in Settings > Accounts > Sign-in options under "Require sign-in."
- Lock screen test: Press
Win + Lto lock your screen. Even with auto login enabled, Windows will ask for your password here. This is expected behavior.
Key Points
- Use Method 1 (netplwiz) for the easiest setup on any Windows edition.
- Use Method 2 (Registry) when the checkbox is missing or you need to script the configuration.
- Use Method 3 (Group Policy) only on Pro or Enterprise if you also want the classic login appearance.
- Only enable auto login on private computers that do not store sensitive data.
- Consider Windows Hello or a PIN as faster alternatives that still provide some protection.