NZXT H5 Flow Fan Setup: Where Each Fan Goes and What to Add
By Marlo Strydom · Last updated


The 2024 H5 Flow puts two of its fan mounts in an unusual spot: on top of a mesh shroud, right under the graphics card. NZXT leaves those empty and ships just two fans, so six of the eight mounts are yours to fill.
Which ones are worth buying, and which way should they blow? Here is the answer, built from NZXT's specs, KitGuru's tests, and our own runs in a 3D model of the case.
The Short Answer
- Front and bottom fans blow in, and the top and rear fans blow out.
- Fill the front mounts first for the most fresh air coming in.
- Add the bottom pair if your graphics card runs hot: in our model, they sped up the air there more than two extra front fans did.
- Fill all eight mounts for the fastest air at both the CPU cooler and the graphics card, with the case still at positive pressure.
- Put a 360 mm radiator up front, or a 240 mm one on top, matched to the part you want coolest.
Where Each Fan Goes
Air should come in low and at the front, then leave high and at the back. Noctua's airflow guide sets front fans as intakes, and says bottom fans are generally intakes while top fans are exhausts.
| Mount | Fits | In the box | Direction |
|---|---|---|---|
| Front | 3 × 120 mm or 2 × 140 mm | 1 fan | In |
| Top | 2 × 120 mm or 2 × 140 mm | None | Out |
| Bottom, on the shroud | 2 × 120 mm | None | In |
| Rear | 1 × 120 mm | 1 fan | Out |
The sizes come from NZXT's product page. The bottom fans sit on top of the power supply shroud, which NZXT perforated on the side and bottom so those fans can breathe.
The H5 Flow RGB is the same case with a three-fan RGB set up front, so it starts at the 4-fan row below. The 2022 H5 Flow is different: it has one angled fan under the graphics card instead of two flat bottom mounts.
Which Fans to Add First
Fill the front first, then the roof, then the floor. This order follows Noctua's fan placement table up to six fans, and each row adds one, so you can stop wherever your budget runs out.
| Fans | Where they go |
|---|---|
| 2 | As it ships: middle front intake, rear exhaust |
| 3 | Add a front intake |
| 4 | Fill the third front mount |
| 5 | Add a top exhaust in the mount nearest the back |
| 6 | Add a bottom intake |
| 7 | Add the second bottom intake |
| 8 | Add the front top fan as an exhaust |
One swap is worth knowing. If your graphics card runs hot, put fans three and four on the bottom mounts instead, for the reasons below. For the eighth fan, our top fan direction test explains when a front top intake can help a tower cooler.
What Our 3D Model Showed
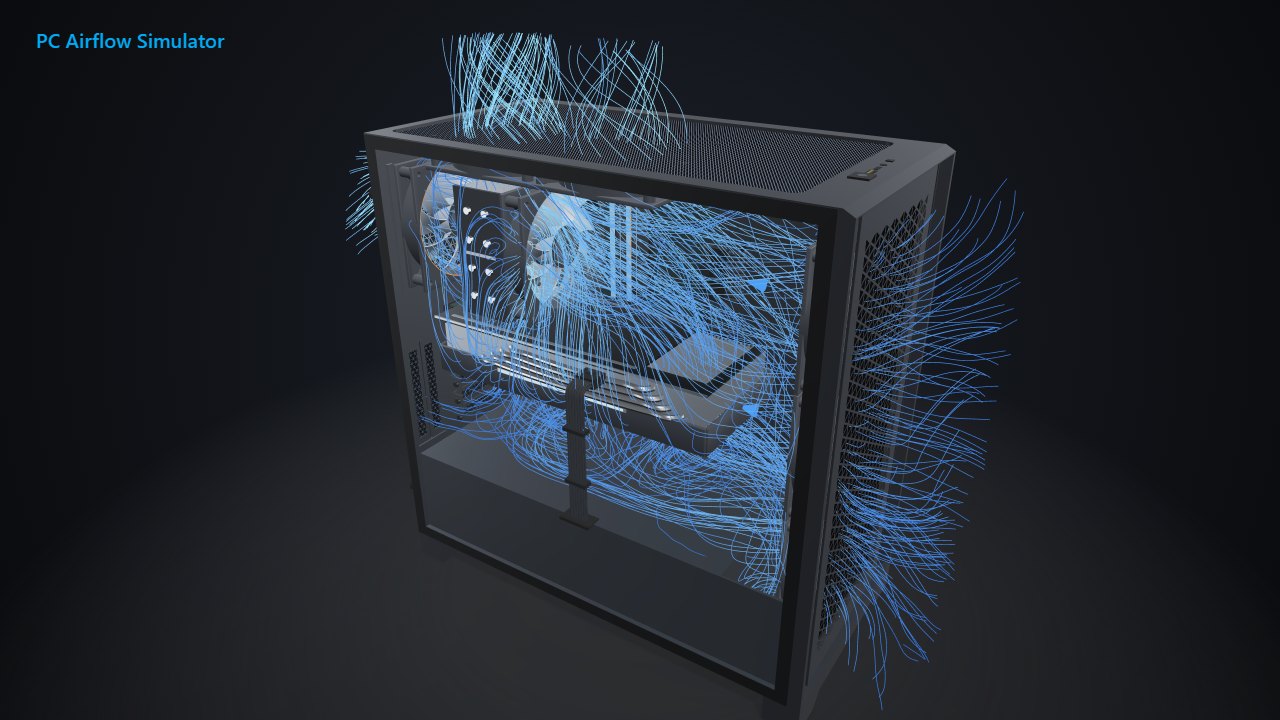
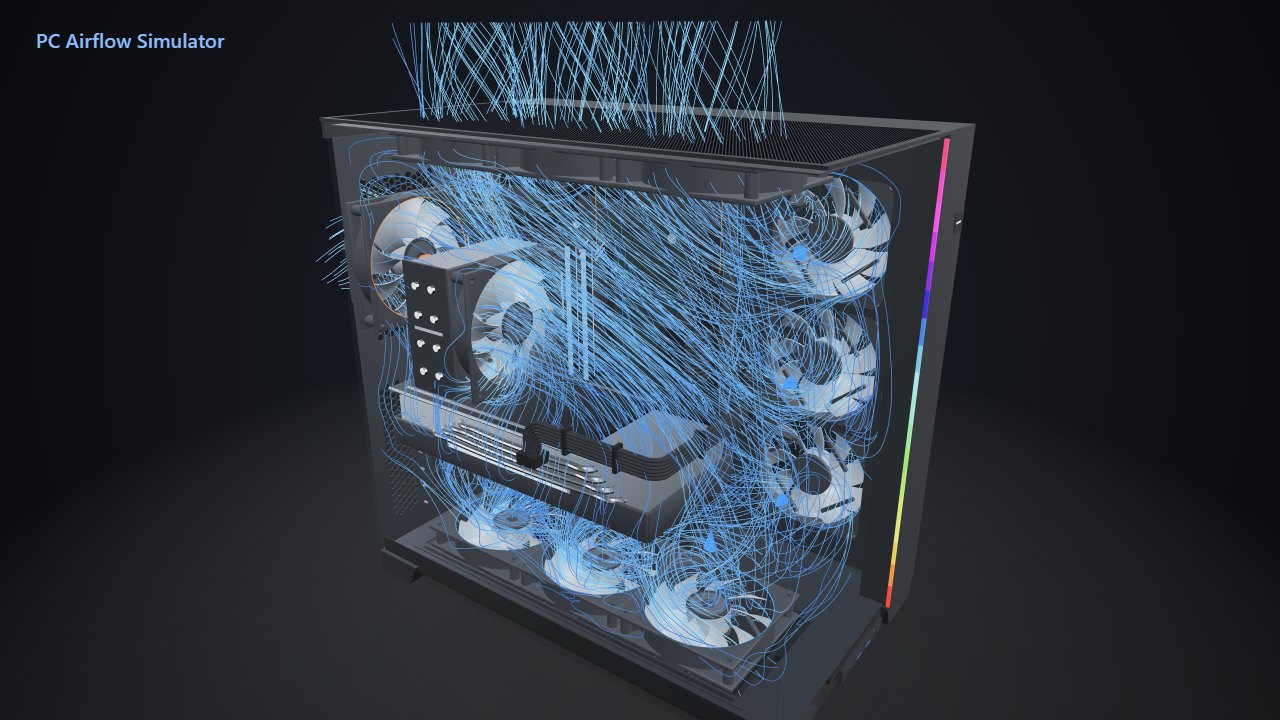
We ran four layouts in our PC Airflow Simulator, using its Pro model of the 2024 H5 Flow. Every fan spun at 1,350 RPM, the stock fans' rated speed, with a tower CPU cooler and a 315 mm graphics card inside. The table shows how much air came in, how fast it moved near each part, and the pressure inside the case.
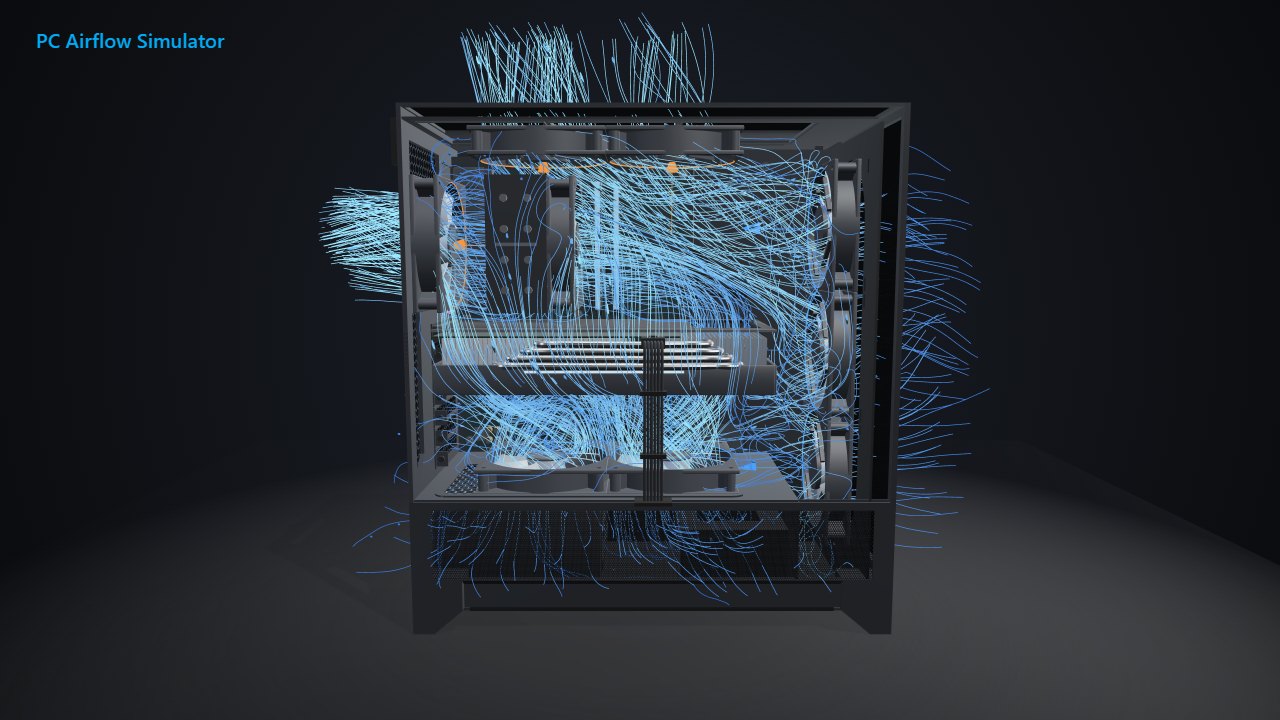
| Layout | Air in | CPU cooler | Graphics card | Pressure |
|---|---|---|---|---|
| As it ships: 1 front in, 1 rear out | 39 CFM | 0.80 m/s | 0.75 m/s | +0.1 Pa |
| 3 front in, 1 rear out | 115 CFM | 0.93 m/s | 0.77 m/s | +1.2 Pa |
| As it ships, plus 2 bottom in | 99 CFM | 0.94 m/s | 0.91 m/s | +0.7 Pa |
| All 8: front and bottom in, top and rear out | 163 CFM | 1.13 m/s | 0.99 m/s | +1.5 Pa |
Two more front fans nearly tripled the air coming in, from 39 to 115 CFM. Air near the CPU cooler sped up by 16%, but the graphics card gained only 3%. The stock layout was slow to settle, so we gave it 20 seconds of modeled airflow instead of 12.
The bottom pair told a different story. It brought in less air than the two extra front fans, yet the air near the graphics card moved 19% faster than with three front intakes, and the CPU cooler did just as well.
Filling all eight mounts gave the fastest air at both parts and still kept more air coming in than going out. These are simulated numbers, though. The model measures moving air, not heat, and its accuracy against a real H5 Flow hasn't been checked, so use it to compare layouts, then check real temperatures in your own build.
Your graphics card, cooler and fan speeds will move these numbers, so try your own parts in the same model and compare.
Are the Bottom Fans Worth It?
NZXT says the mesh shroud sends bottom-fan air straight at the graphics card, and our model shows the air there speeding up. Real temperatures tell a smaller story.
KitGuru tested two bottom intakes at 1,000 RPM alongside the stock fans, and the graphics card ran only 2 °C cooler. Its reviewer called the gain minor for the cost.
So they're worth it for a graphics card that runs hot. If yours already runs cool, the front mounts are the better buy.
Glass-front cases lean harder on their floor fans. Our Lian Li O11 fan guide weighs bottom intakes against side ones when there's no front mesh to breathe through.
Keep Dust Out
NZXT says the ultra-fine mesh on the front, top and side panels filters dust while letting air through. Wipe or vacuum it from the outside when you see dust on it.
Leave that mesh on. In KitGuru's tests, taking the front and top mesh off cooled the CPU by 4 °C at most. Our Corsair 4000D Airflow filter test came to the same answer.
Extra intakes help here too. Noctua says positive pressure cuts the dust that slips in through gaps, and every layout with added fans in our model kept more air coming in than going out.
Where an AIO Radiator Fits Best
| Radiator spot | Sizes NZXT lists | Best for |
|---|---|---|
| Front | Up to 360 mm, or 280 mm with 140 mm fans | The coolest CPU, with its fans blowing in |
| Top | Up to 240 mm, or 280 mm with low-profile RAM | The coolest graphics card, with its fans blowing out |
That split comes from Noctua's airflow guide. On top, NZXT allows 55 mm for the radiator and its fans together, so add up both before you buy.
Match the other fans to it. A top radiator wants all three front fans and the bottom fans pulling fresh air in, while a front radiator pairs with top and rear exhausts. The rear mount takes a fan only, with no radiator support.
Test the Layout Before You Buy Fans
With PC Airflow Simulator Pro, each of these links opens our H5 Flow model with that layout loaded, ready for your own parts:
- The two stock fans
- Three front intakes with a rear exhaust
- The stock fans plus two bottom intakes
- All eight mounts filled
The stock F120Q fans are 3-pin, so switch their headers to DC or voltage mode if they stay at full speed. Then set how fast they ramp up with our PC fan curve calculator.
Once it's built, change one fan at a time and run the same game before and after. Compare CPU and graphics card temperatures in HWiNFO or our free PC Reporter. Our airflow optimization guide covers the basics that apply to any case.
Related Posts